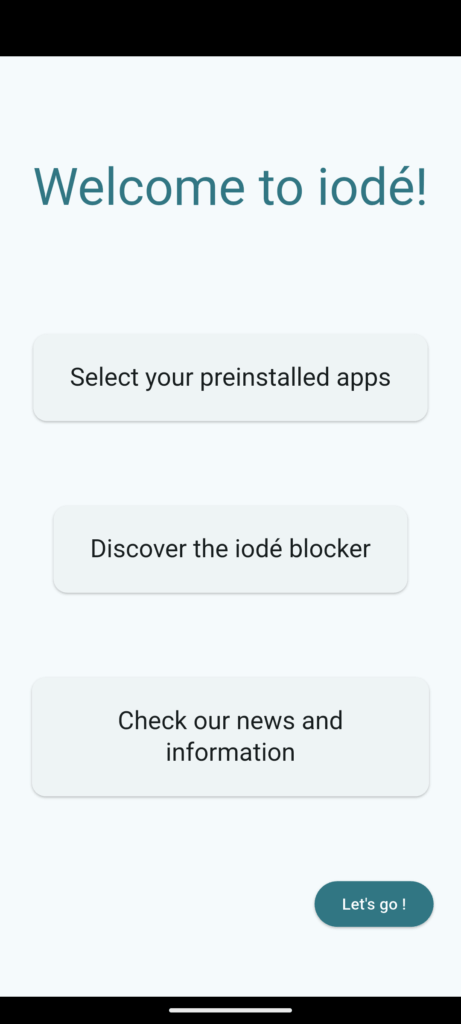
User getting started guide
Setup overview
The iodéOS setup wizard follows standard Android and LineageOS flows with a few privacy specific prompts. The steps below explain each screen and where to change the setting later.
Before you start
- Charge the device and have Wi‑Fi details and SIM available.
- If migrating from another install, prepare a Seedvault backup (optional).
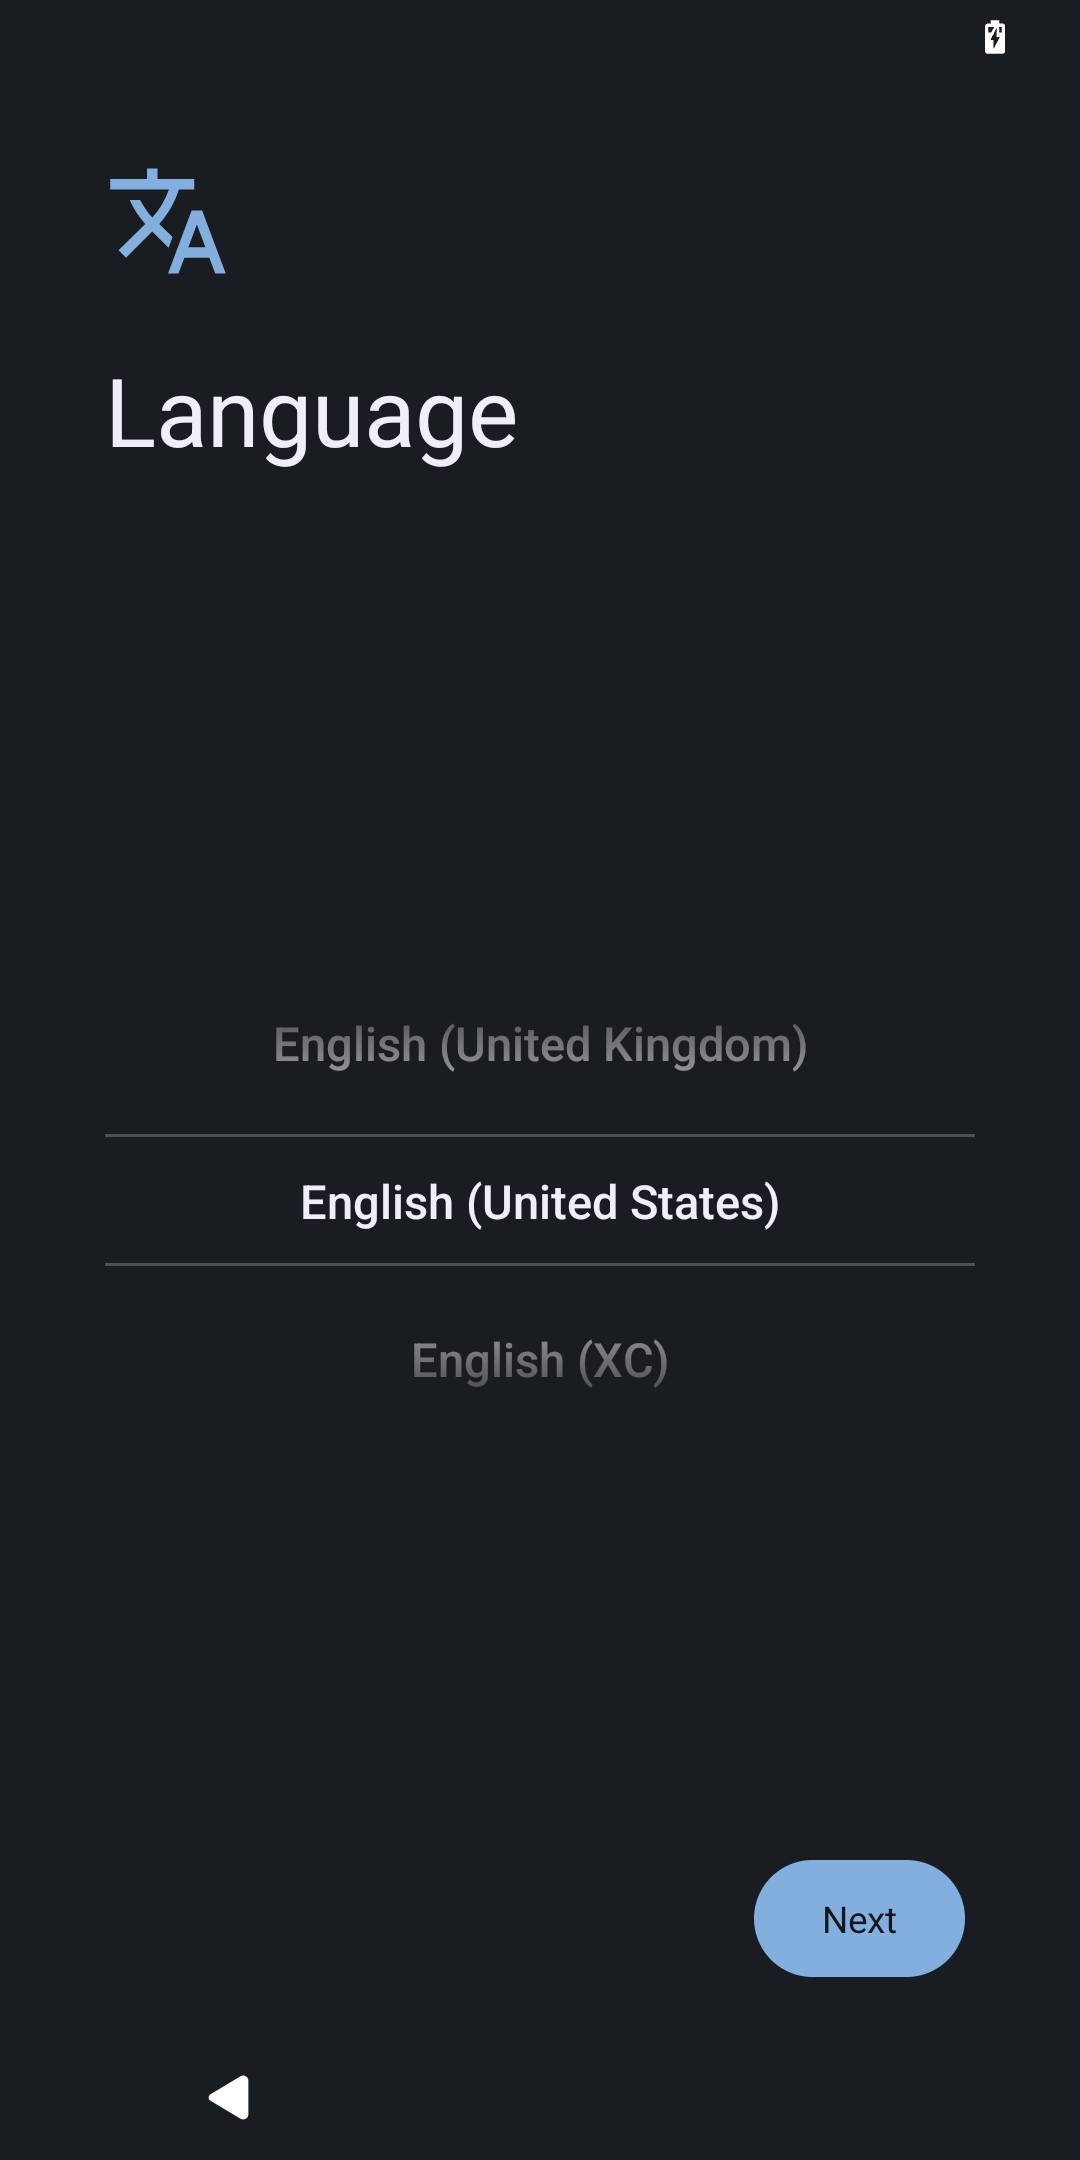
Step 1 - Select language
Choose your system language.
How to change later ⚙️
Settings -> System -> Language
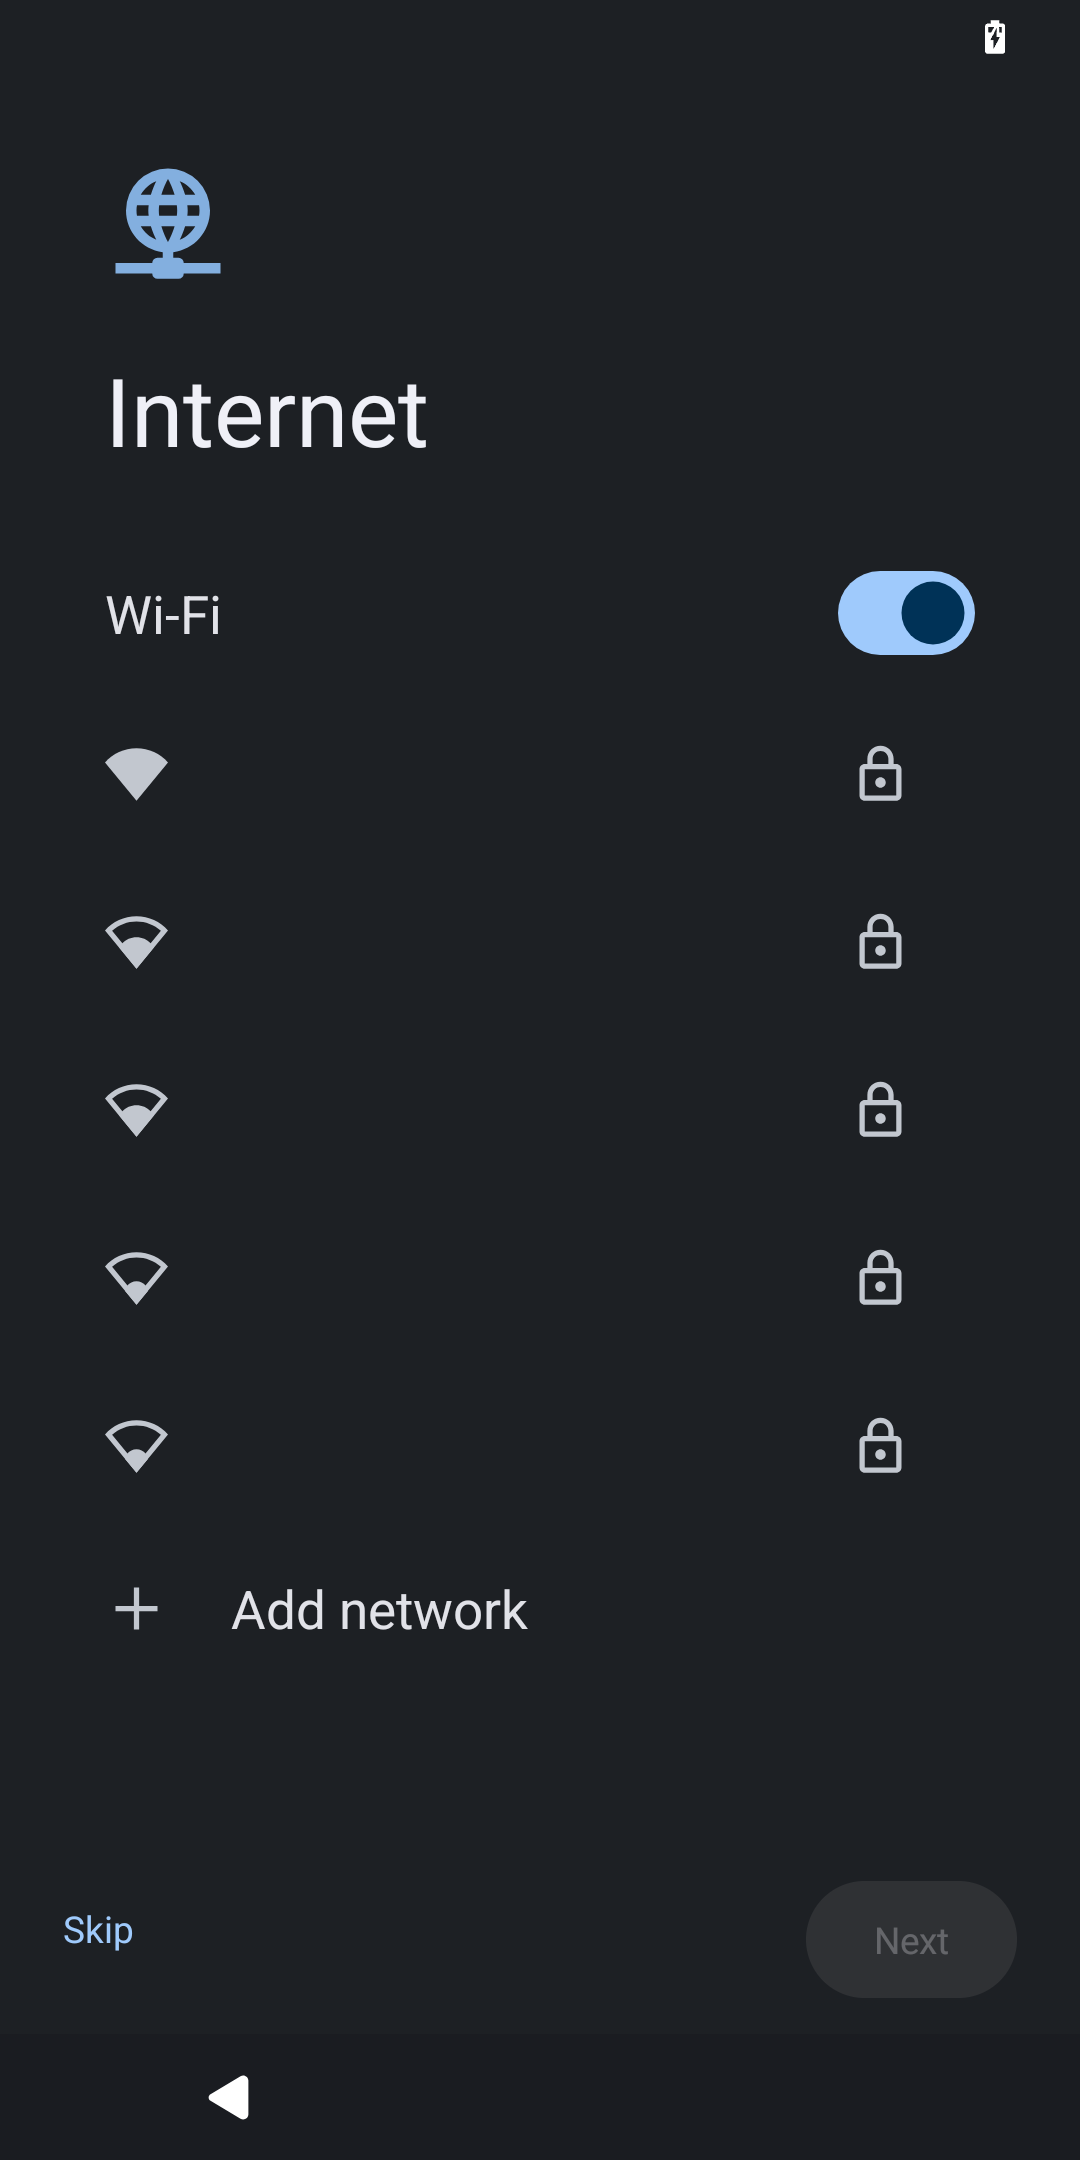
Step 2 - SIM and Wi‑Fi
If needed, power off, insert the SIM, then power on. Connect to Wi‑Fi and authenticate.
How to change later ⚙️
er ⚙️" Settings -> Network
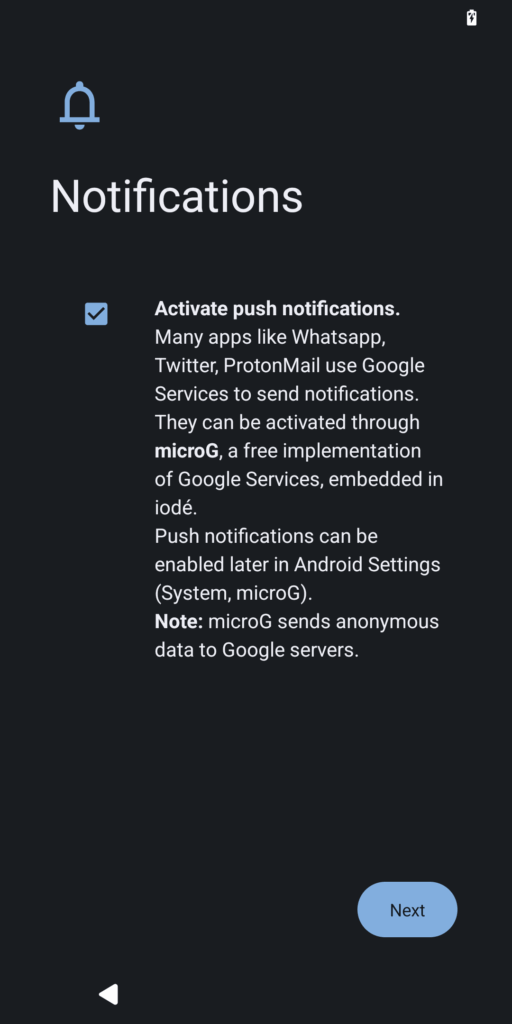
Step 3 - Push notifications (microG)
iodéOS is de‑Googled by default. Enable push only if your apps require it (microG Cloud Messaging).
How to change later ⚙️
Settings -> microG -> Cloud Messaging
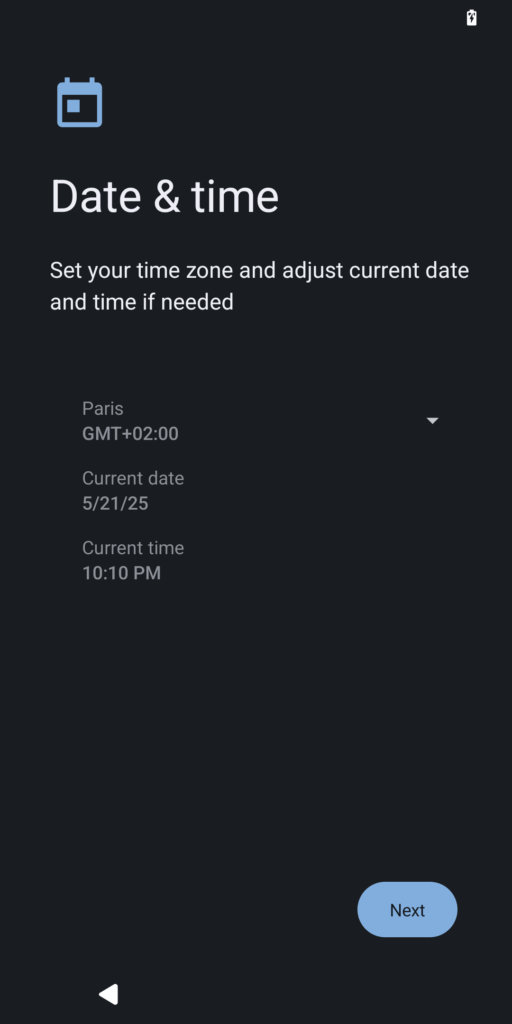
Step 4 - Date & time
Set time zone and date or keep automatic.
How to change later ⚙️
Settings -> System -> Date & Time
Step 5 - Location services
Toggle location, Wi‑Fi/Bluetooth scanning and Assisted GPS according to your needs.
How to change later ⚙️
Settings -> Location; extra options in Settings -> System -> microG -> Location

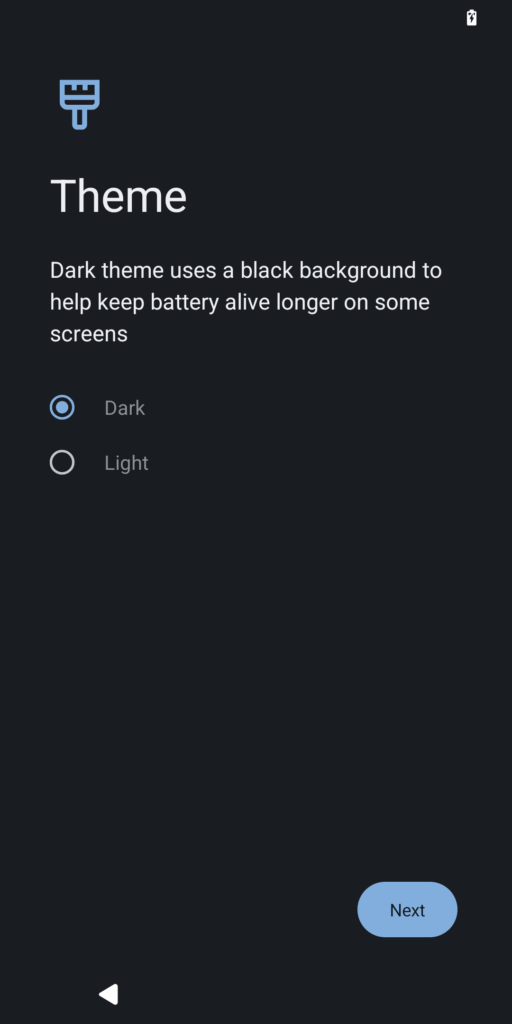
Step 6 - Theme
Switch between light and dark.
How to change later ⚙️
Settings -> Display -> Dark theme
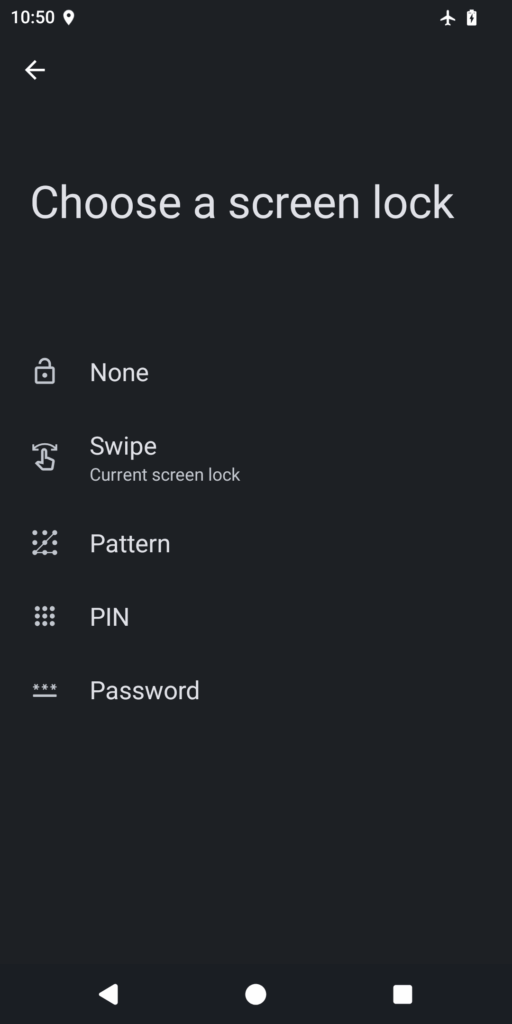
Step 7 - Screen lock and fingerprint
Choose PIN, pattern or password and optionally set up fingerprint unlock.
How to change later ⚙️
Settings -> Security & Privacy
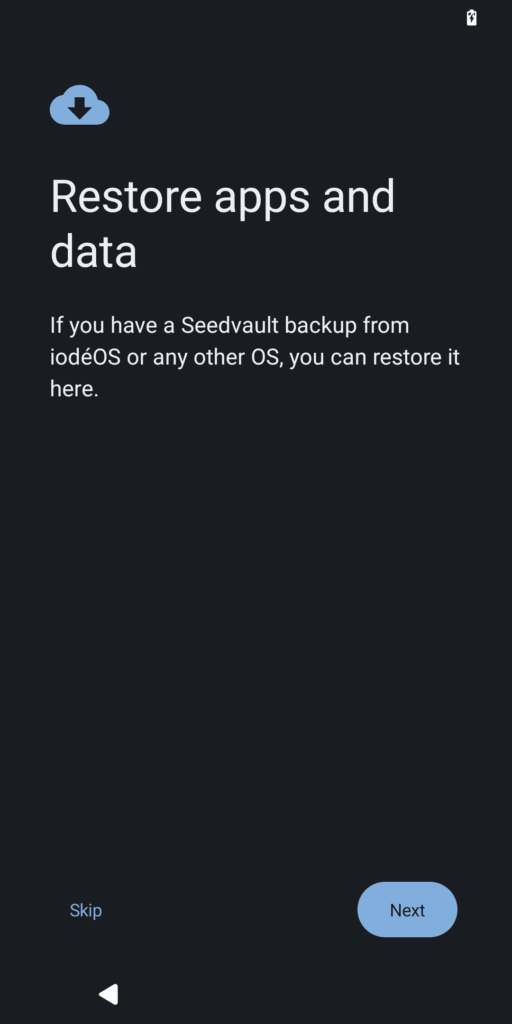
Step 8 - Restore a Seedvault backup (optional)
Restore apps and settings from USB, local storage or a Nextcloud vault, or skip.
How to change later ⚙️
Settings -> System -> Backup
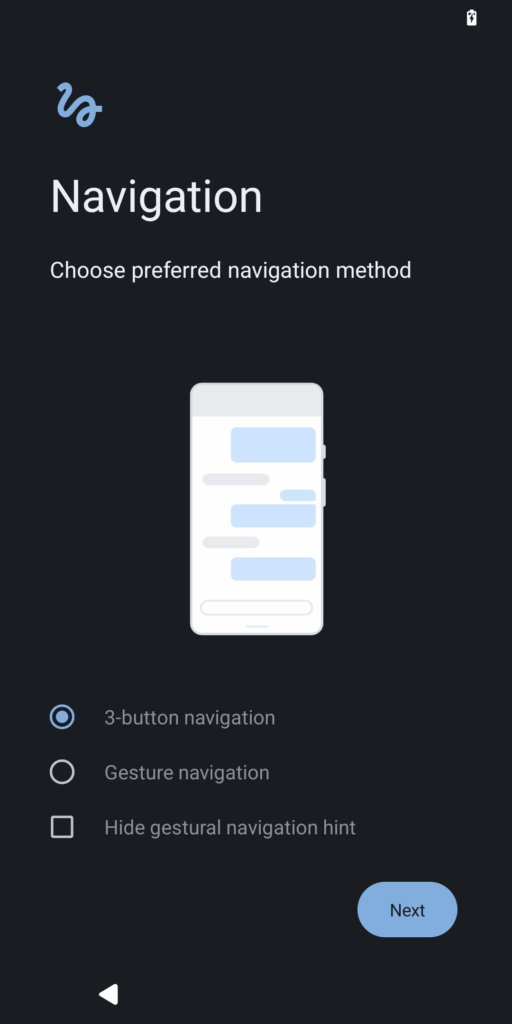
Step 9 - Navigation
Choose gesture or 3‑button navigation.
How to change later ⚙️
Settings -> Accessibility -> System controls
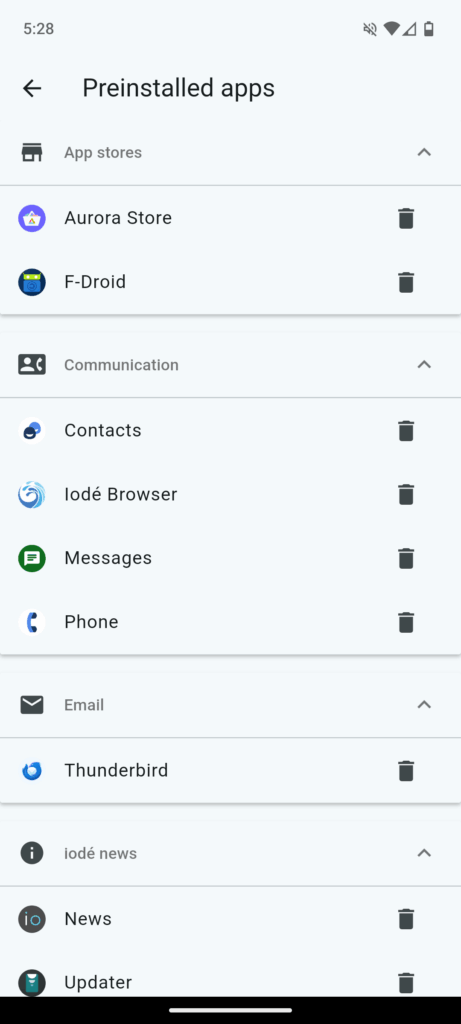
Step 10 - Select preinstalled apps (optional)
Pick the default apps you want installed. You can remove them later.
How to change later ⚙️
Settings -> Apps -> Preinstalled apps
Welcome
When setup finishes, the system completes configuration and shows the home screen.